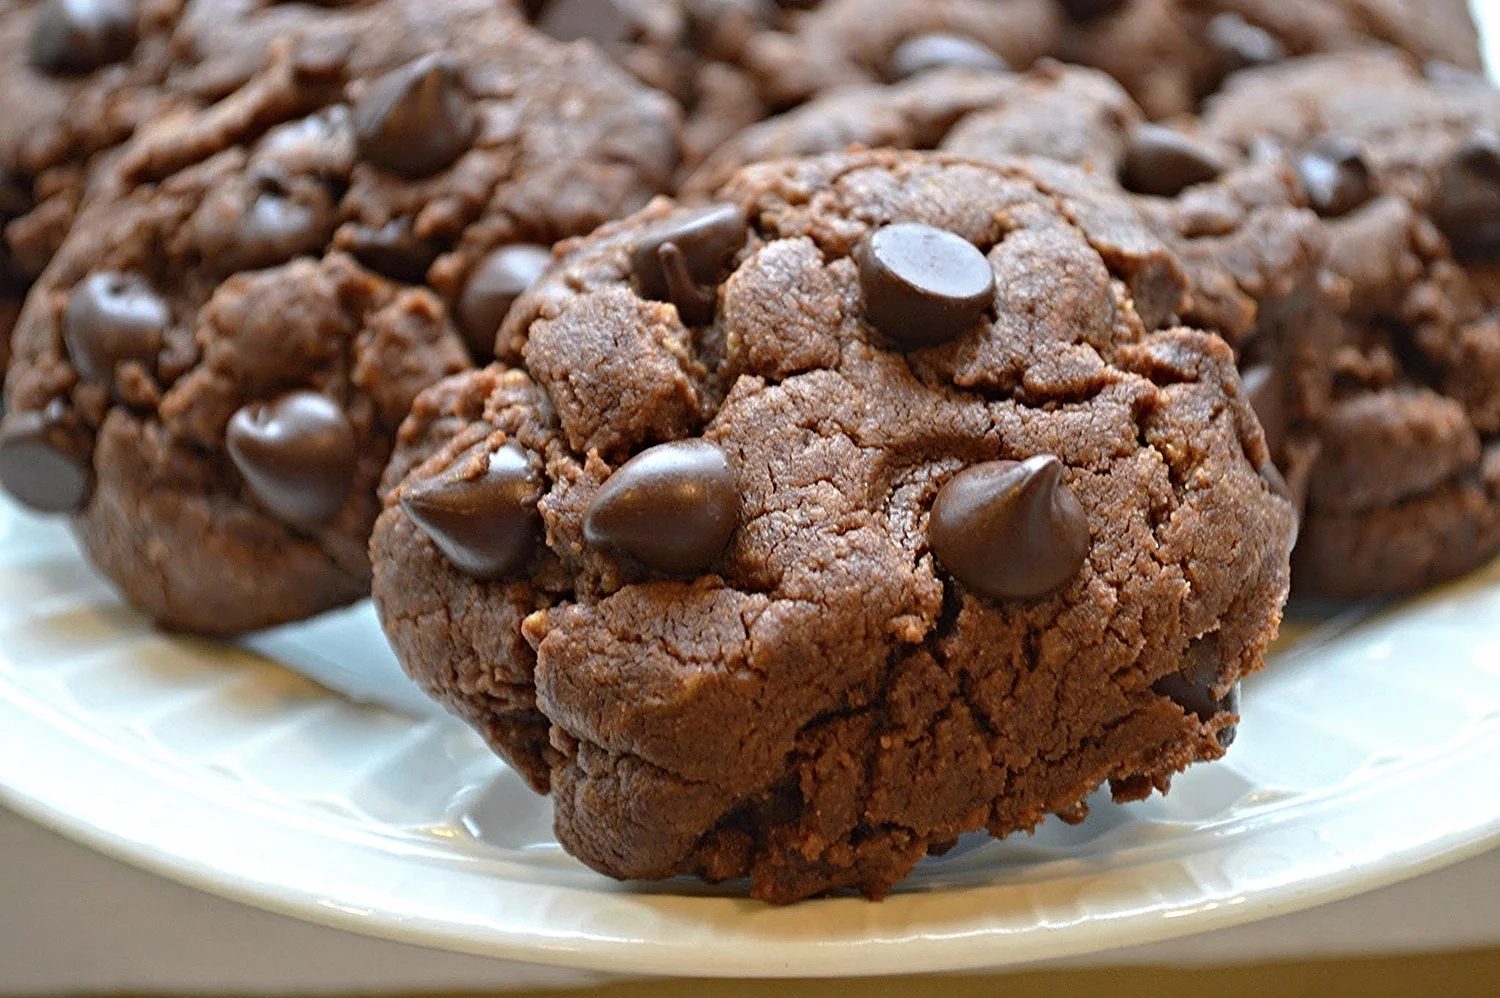
Gluten-Free Chocolate Peanut Butter Cookies (and a video too)
In no way shape or form, would you EVER suspect that these cookies were flourless and therefore, gluten-free. Not only are they intensely flavorful, combining two of the all-time best flavor combinations (think Reese's Peanut Butter Cups), but the texture has all of the chewiness and mouth appeal that any cookie made with flour would have! Totally amazing!!
But that's not all you get today, because I'm also sharing a video that the good folks at Hooplaha have made featuring my daughter and I preparing a true family favorite, Easy Baked Chicken Breasts. Take a look and learn the touching family saga of how we got our oldest son to finally eat chicken!!
So many people I know now are allergic or sensitive to gluten and I know there are a lot of new products out there that make gluten-free baking a whole lot easier than it was, say 10 years ago, but for these cookies all you need are things you probably always keep on hand in your pantry and refrigerator, which means that you can make these for yourself pretty much any time you want to or if you have a gluten-free guest coming over you can whip these up in a flash.. just make sure they don't have a peanut allergy too!!
Gluten-Free Chocolate Peanut Butter Cookies
Makes 15-17 cookies
Prep Time: 10 minutes; Bake Time: 10-12 minutes
Ingredients
- 1 cup creamy peanut butter (don't use natural here-I used Skippy)
- 1/2 cup brown sugar
- 1 large egg
- 1 teaspoon vanilla extract
- 1 teaspoon baking soda
- 1/2 teaspoon salt
- 1/4 cup natural cocoa powder
- 1/2-3/4 cup semisweet chocolate chips
The Recipe
1. Preheat oven to 350ºF. Line 2 cookie sheets with parchment paper and set aside.
2. Using an electric mixer, beat the sugar and peanut butter together until creamy and fully incorporated in a large bowl. Mix in the egg and vanilla and beat well. On low speed add in the baking soda, salt and cocoa powder and mix until just combined. Remove the bowl from the mixer and stir in the chocolate chips by hand.
3. Scoop the dough out by tablespoons and transfer to the prepared baking sheets. Using your hand, press down gently on each mound to flatten them slightly. You can also put a few extra chips on the tops of the cookies now. Bake for 10-12 minutes, reversing the sheets top to bottom and front to back mid-way through the baking process. Remove from the oven and transfer the trays to cooling racks. Let cookies cool for about 5 minutes on the trays, then transfer to the racks to finish cooling completely.
4. Cookies keep for 3-4 days stored in an airtight container at room temperature.
Enjoy!
Note: Recipe adapted from Two Peas & Their Pod


