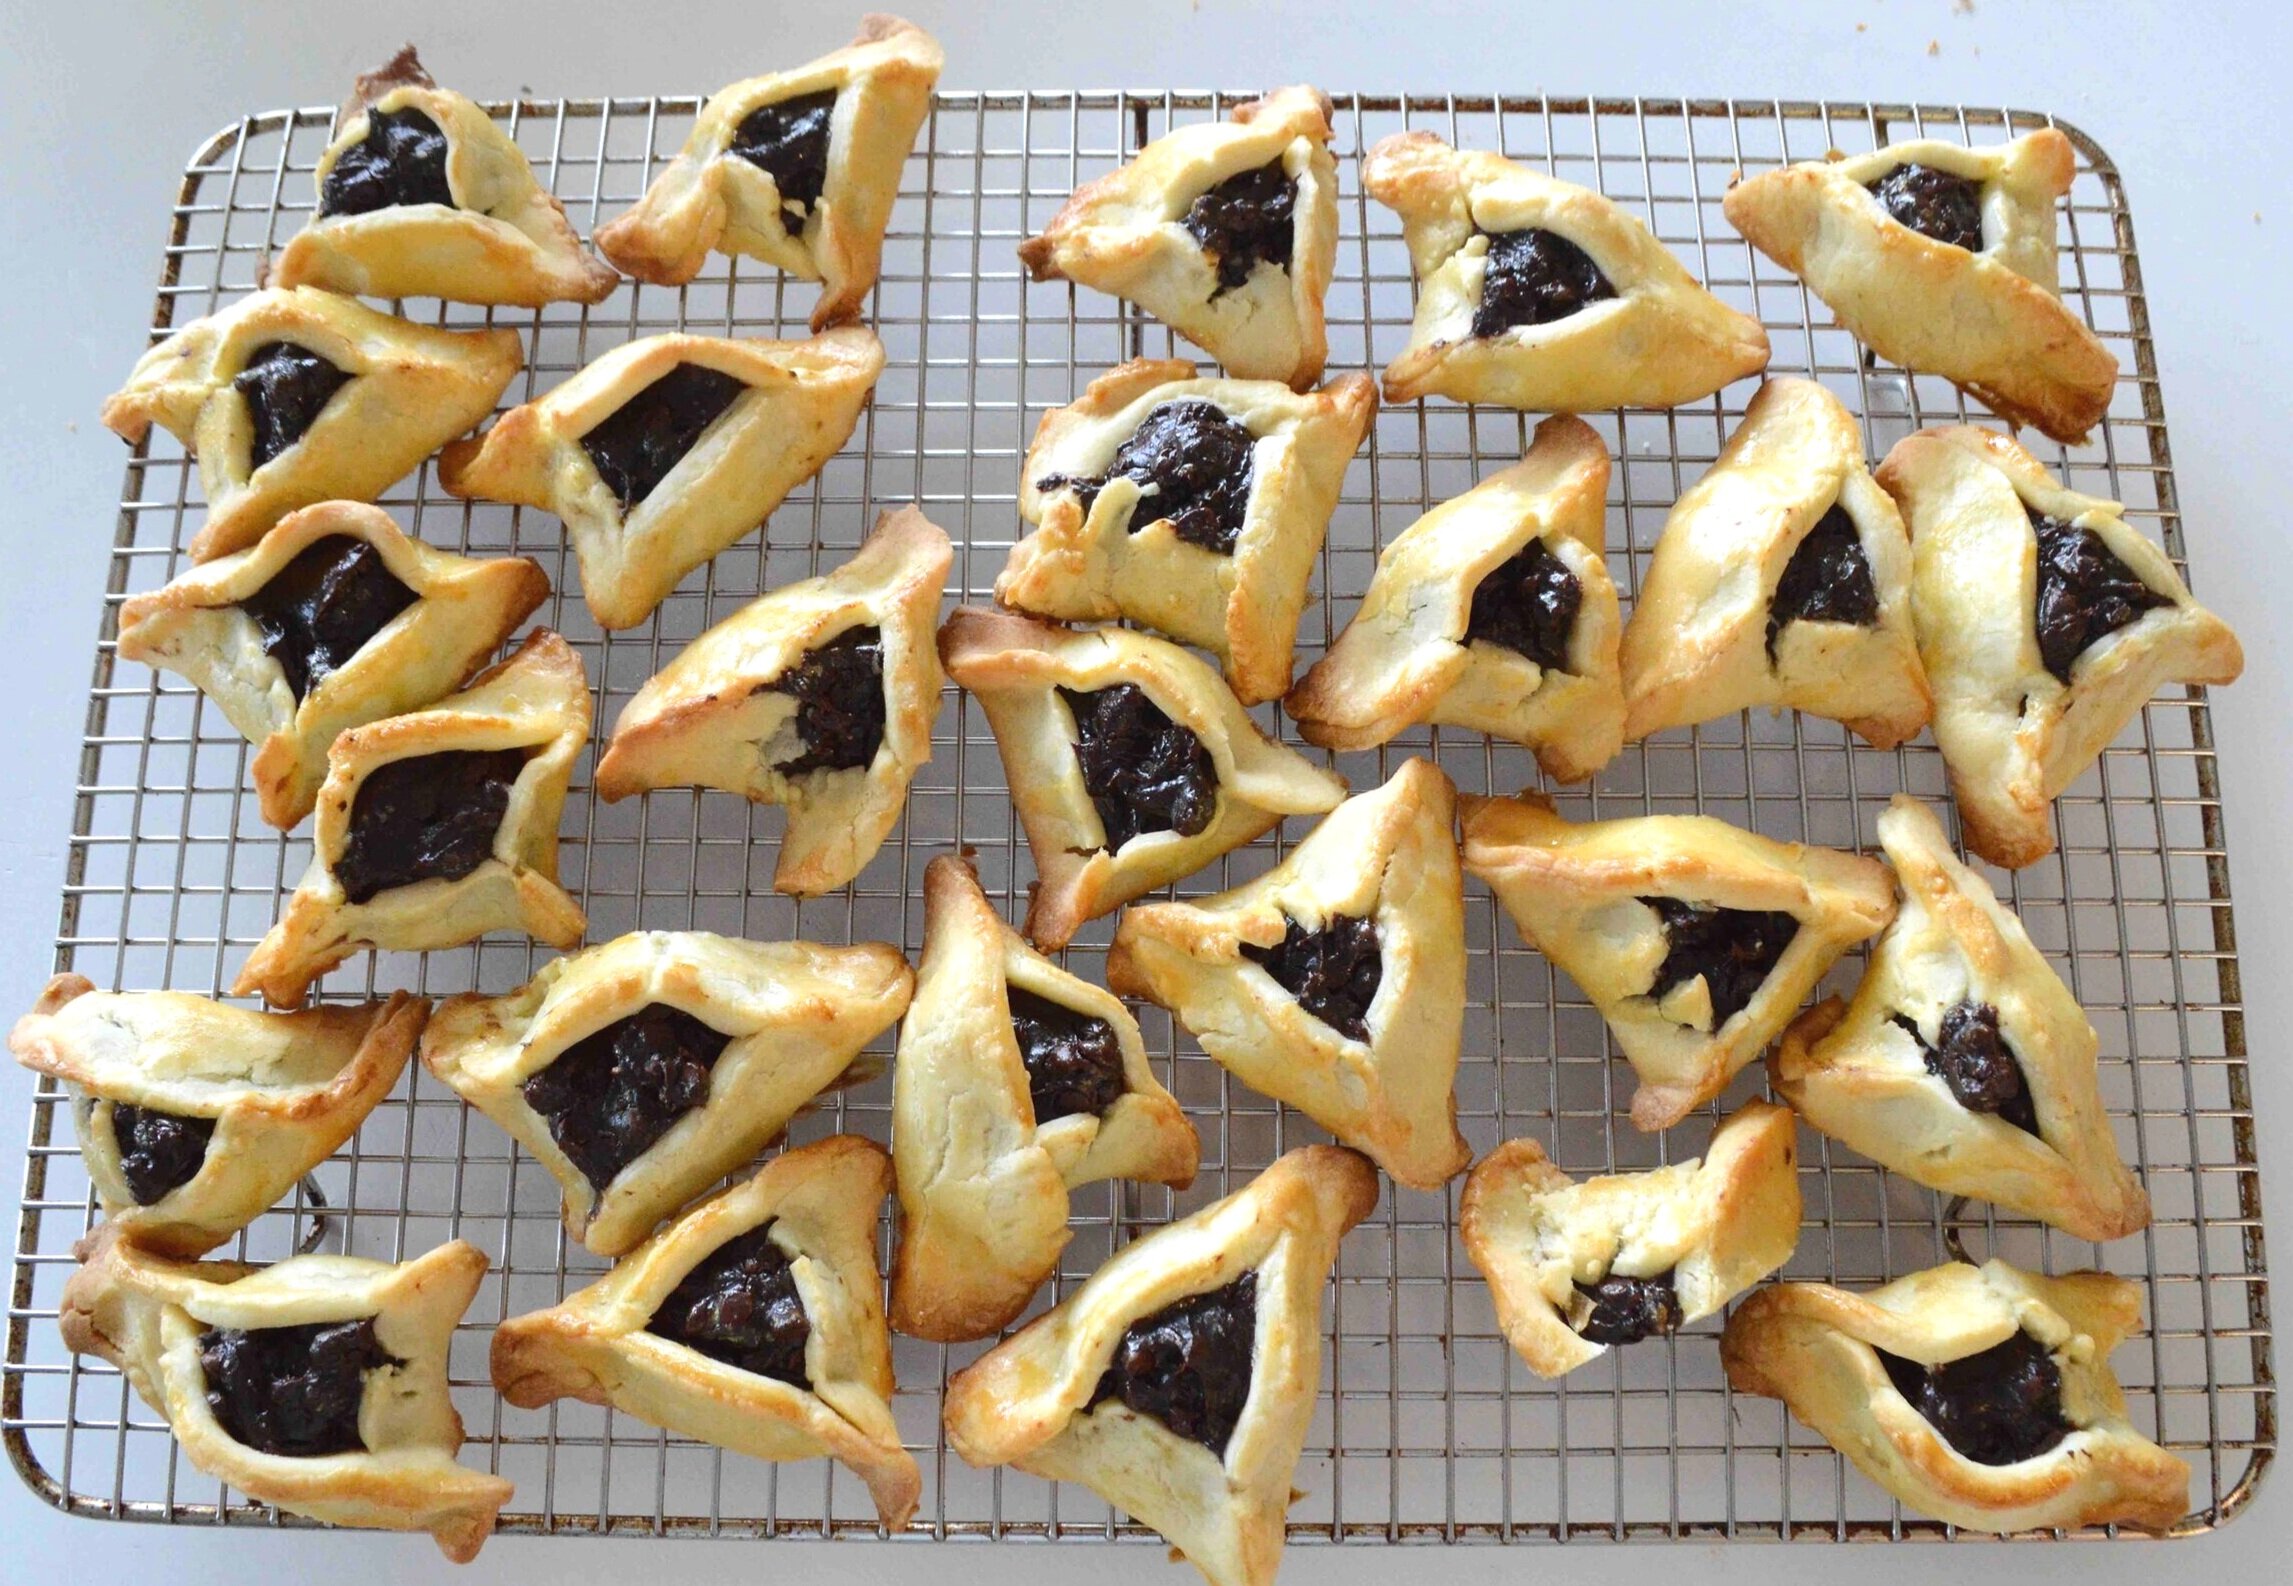
Brownie-Filled Hamantaschen
Seems like the holidays are coming upon us fast and furiously. Last week was St Paddy's, Easter is just around the corner and smack in the middle of all it is Purim, otherwise known as the time to eat hamantaschen! If you're not sure of what I'm talking about, don't worry--all you need to know is that hamantaschen are triangular cookies filled with something in the center that people eat to commemorate the getting rid of an evil man, Haman, long ago. These are untraditionally filled with a chewy, very chocolate-y brownie filling that will have you wondering "where have these been all my life?!" You've got to try them!!
Traditionally hamantaschen are filled with some sort of fruit or poppy seed filling and here's and amazing recipe for those that I've been making for years. These are entirely different and not just because of the brownie center. The dough is the same you would use to make ordinary rolled out sugar cookies, so when you combine them with a luscious bittersweet center, you get the best of both worlds. Kids love them! Adults love them too! And they're not difficult to make at all--you just have to do a little pre-planning because both the dough and the chocolate filling have to spend a little time hanging out in the fridge.
Once the dough and filling have chilled, you roll out the dough and cut out circles.
Then you plop a dollop of the chocolate mixture into the center of each circle--
And pinch the sides together to form little chocolate-filled triangles.
The cookies bake up golden brown with chewy bittersweet chocolate centers. And unlike the jam filled versions that often run and mess up the triangular shapes, this filling stays put--not that I've ever had a problem getting rid of the "free form" versions!
Every bite is a delightful combination of chewy vanilla sugar cookie and chewy bittersweet chocolate brownie! Happy Purim!
Brownie-Filled Hamantaschen
Makes 2-3 dozen cookies depending on how large you make them
Prep Time for Dough: 15 minutes (plus several hours of chilling time); Prep Time for Filling: 10 minutes (plus chilling time); Assembly: 15-20 minutes; Bake Time: 12-14 minutes
Ingredients
For the Cookie Dough
- 4 cups unbleached, all purpose flour
- 1 teaspoon baking powder
- 1/2 teaspoon salt
- 2 sticks (1/2 pound) unsalted butter, room temperature
- 2 cups sugar
- 2 large eggs
- 1 tablespoon vanilla extract or vanilla bean paste
For the Filling
- 6 tablespoons unsalted butter
- 4 ounces unsweetened chocolate, roughly chopped
- 3/4 cup sugar
- 1/4 teaspoon salt
- 1 teaspoon vanilla extract
- 2 large cold eggs
- 2 tablespoons unbleached, all-purpose flour
The Recipe
1. To make the cookie dough: Place the flour, baking powder and salt into a large bowl and whisk them together until well combined. Set aside.
2. Using an electric mixer, beat the butter and sugar together until light and fluffy, about 3-4 minutes. Beat the the eggs and vanilla. Turn the mixer to low speed and add the flour mixture. Mix until just barely combined. Scrape the dough all together and turn it out onto the counter. Use your hands to knead it a few times until the dough feels smooth. Divide it into four equal pieces, flatten each one into a disk, wrap well in plastic wrap and chill for at least several hours until firm or better yet, overnight. Dough can be made up to 3 days ahead and kept refrigerated.
3. To make the filling: Place the chocolate in the top of a double boiler over barely simmering water. Stir often until the chocolate is completely melted and smooth. Remove from the heat and stir in the sugar, vanilla and salt. One at a time, add in the eggs, stirring vigorously with a spoon until the mixture is shiny and smooth and comes away from the sides of the bowl. Stir vigorously for another minute. Transfer the mixture to a smaller bowl, cover and chill until firm. You can do this up to 2 days ahead.
4. When ready to bake the cookies, preheat the oven to 350ºF. Remove the disks from the refrigerator and let soften up enough to roll out, but not too soft or they won't be able to hold their shape. Line 2 cookie sheets with parchment paper and set aside.
5. Place one softened disk on a sheet of wax paper and cover with another sheet of wax paper. Use a rolling pin to roll out the dough to about 1/8-inch thickness. Remove the top sheet of wax paper and use a 2 or 3-inch round cookie cutter or wide mouth glass to cut out as many rounds as possible and carefully transfer to the cookie sheets with a wide metal spatula. Gather the remaining dough together and re-roll out, cutting out as many rounds as possible. If the dough seems to be getting too soft, return to the fridge to firm up a bit.
6. Place a level teaspoonful of the chilled chocolate mixture in the center of each circle and squeeze the sides together to form triangular shaped cookies. These don't spread a lot so you only have to space them about 1/2 inch apart. Pinch the edges well to seal the corners.
7. Bake for 12-14 minutes, 1 tray at a time in the center of the oven, rotating the tray from front to back halfway through the baking process. Cookies are done when they appear pale golden brown around the edges. Transfer tray to a baking rack and let cool a few minutes. Then use a spatula to transfer cookies to the wire rack itself to finish cooling completely. Repeat the entire process until all of the cookie dough is used up.
8. Store cookies in an airtight container at room temperature for 3-4 days.
Enjoy!
Note: Recipe adapted from Chewy, Gooey, Crispy, Crunchy by Alice Medrich.


