Apple Hand Pies
So…Thanksgiving. Are you exhausted with trying to figure out how to handle it and keep everybody happy and safe? It’s certainly going to be challenging!!
Usually either my sister or I hold a 20+ person, indoor gathering, but this year, that’s not going to be happening—fingers crossed that we have good weather ‘cause the plan at this point is to have a small, socially-distant, mask-wearing and propane-heated backyard shindig!😘
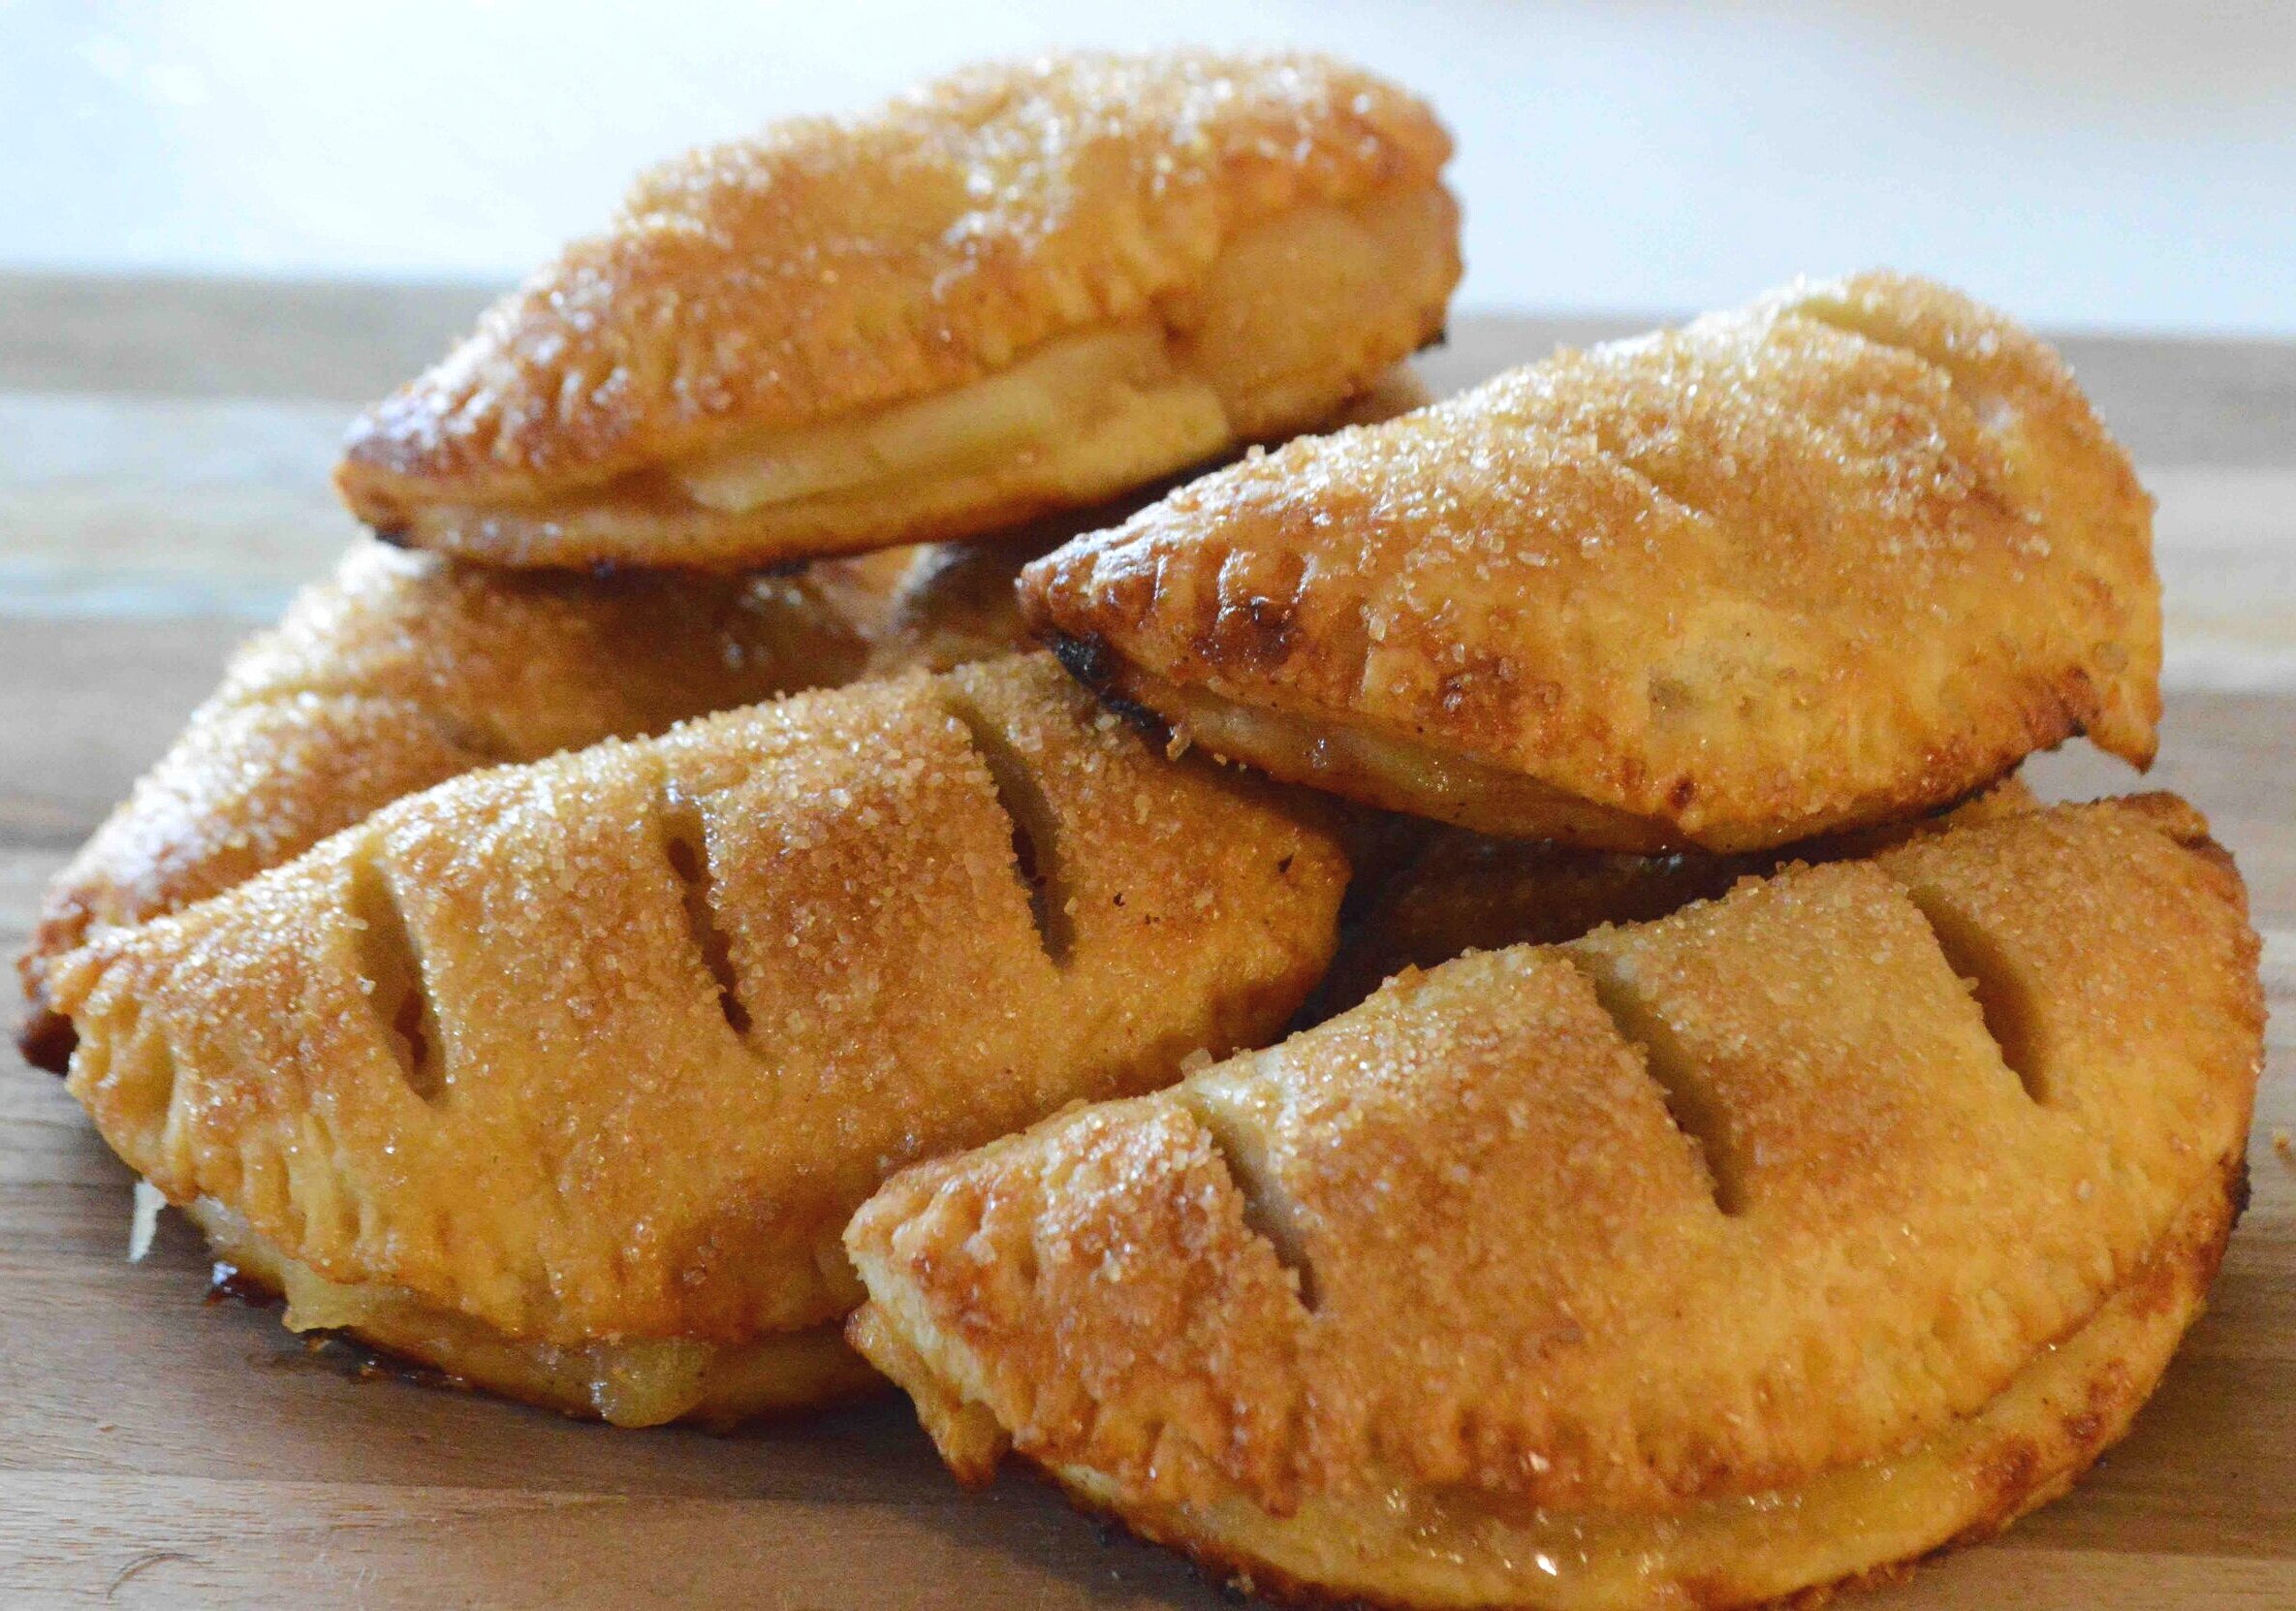
All of this has gotten me thinking a lot about how to optimally prepare and serve the food this year which brings me to these individual and very hygienic, absolutely delicious Apple Hand Pies. There’s minimal handling, no need to cut or plate them and they yield a lot less than a traditional apple pie, which is perfect for serving fewer guests.
They’re also a lot easier to make than a traditional apple pie! Here’s how:
You start by making a regular butter pie crust and rolling out the dough so that you can cut out circles from it.
Next, you make a simple cinnamon-apple filling and spoon a little onto each circle—
Wetting the edges with a bit of water in the process to help the dough stick together as you fold it into a half moon shape—
Finally you use the tines of a fork to crimp the edges, which makes it look pretty and keeps the filling nicely tucked inside.
Right before baking you brush the pies with an egg wash, cut a few slits on top of each one and then sprinkle with a generous amount of coarse, sanding sugar for a lovely, sweet crunch!
The result is a golden, flaky, mini-apple pie that’s just like a slice of your favorite but easily stashes in your pocket!! Perfect for little and big hands alike!!
And just right for your celebration this year!
Honestly, is there anything better than portable apple pie?!! More to come on the holiday cooking front, so stay tuned…
Apple Hand Pies
Makes about 10
Prep Time for Dough: 10 minutes, plus several hours of chilling; Prep Time for Apple filling: 20 minutes, plus cooling time;
Ingredients
For the pie crust
1 ½ cups unbleached, all-purpose flour, plus extra for rolling out
1 ½ teaspoons sugar
½ teaspoon salt
8 tablespoons (½ cup) unsalted butter, cut into small cubes and chilled
⅓ cup cold water
1 teaspoon cider vinegar
Ice Cubes
For the Apple filling
2 tablespoons unsalted butter
2 tablespoons sugar
¼ teaspoon cinnamon
Pinch of salt
2 large apples (I used Gala—Granny Smith or Honey Crisp would be good too), peeled, cored and cut into slices
The juice of ½ lemon
For the Assembly
1 egg yolk
2 tablespoons cold water
Turbinado (coarse) sugar
The Recipe
1. To make the dough: Add the flour, sugar and salt to the bowl of a food processor and pulse a few times to blend. Add in the chilled butter and pulse a few times until the butter has become the size of small peas.
2. Into the ⅓ cup cold water, add the vinegar and stir. Then add enough ice cubes to raise the level to ½ cup. Add 2 tablespoons of the mixture to the flour mixture and pulse a few times to incorporate it. It will look very crumbly. Then add 1 more tablespoon and pulse again a few times. You should see the mixture start to come together in a shaggy way with lots of crumbly bits. If you absolutely think you need to, add one more tablespoon of water. I never need to—it’s better for your dough to be too dry than too wet.
3. Turn the crumbly dough out onto a very lightly floured surface and gather it all into a ball. Make sure to scrape out the bowl of the processor—sometimes some of the wet parts of the dough get a little stuck and form the whole thing into a ball. Then flatten into a disk, wrap well in plastic wrap and chill for several hours and even better, overnight.
4. To make the apple filling: Combine the butter, sugar, cinnamon and salt in a medium saucepan and heat over medium-low heat, stirring to melt the butter. Add the apples and lemon juice and cook for about 15 minutes, stirring often, until the apples are tender and softened but not falling apart. Use a potato masher or fork to mash about ¼ of the apples and set aside to cool to room temperature. You could definitely make this a day ahead and keep it covered and chilled until ready to use.
5. When you are ready to roll out the dough, flour a board or counter with a little flour and flour your rolling pin too. If the dough is very stiff (mine usually is) let it sit out on the counter for about 20 minutes till it seems pliable. Roll out the dough, rolling from the center out and to a corner, then lifting the dough off the surface of the board and giving it a little ¼ turn and rolling again, repeating the process until you’re rolled the dough out into a circle that’s about ⅛ inch thick.
6. Line a large rimmed baking sheet with parchment paper. Use a 4-inch biscuit cutter or a wide-mouthed glass to cut out rounds of the dough and place them on the prepared baking sheet. If you find the dough is sticking to the cutter, flour that a bit too. Gather together the scraps and re-roll the dough, continuing to cut out circles until it is all used up. I got 10, four-inch rounds and one little extra. Place the sheet in the fridge to chill for 30 minutes.
7. Remove from fridge and spoon a tablespoon or two of the apple filling onto one half of each circle of dough. You may be tempted to overfill but don’t because it will leak out and be hard to seal the pies. Use a pastry brush to brush a little water around the edges of the dough (to help it seal) and then fold over the dough to make a half moon shape. Seal and use the tines of a fork to help keep the pies closed and to decorate it attractively. Place the sheet back into fridge to chill for 30 minutes. Preheat oven to 375ºF.
8. Make the egg wash by beating the egg yolk with the water. Use a pastry brush to lightly brush the pies with the egg wash and then use a sharp knife to make 3 small slits on the tops of the pies. Sprinkle the pies with the coarse sugar.
9. Bake for about 20-25 minutes, until pies are golden brown. Cool on the sheet on a wire rack for at least 15 minutes and then serve. These are best on the day they’re baked but pretty yummy reheated in a low oven on day 2 or 3, if they make it that long! Also, the recipe doubles well—just double the pie dough recipe and the apple filling.
Enjoy!
Note: Pie dough is my regular recipe you can find here, apple pie filling adapted from The Sono Baking Company Cookbook.


