Lemon Chiffon Pie with 'Nilla Wafer Crust
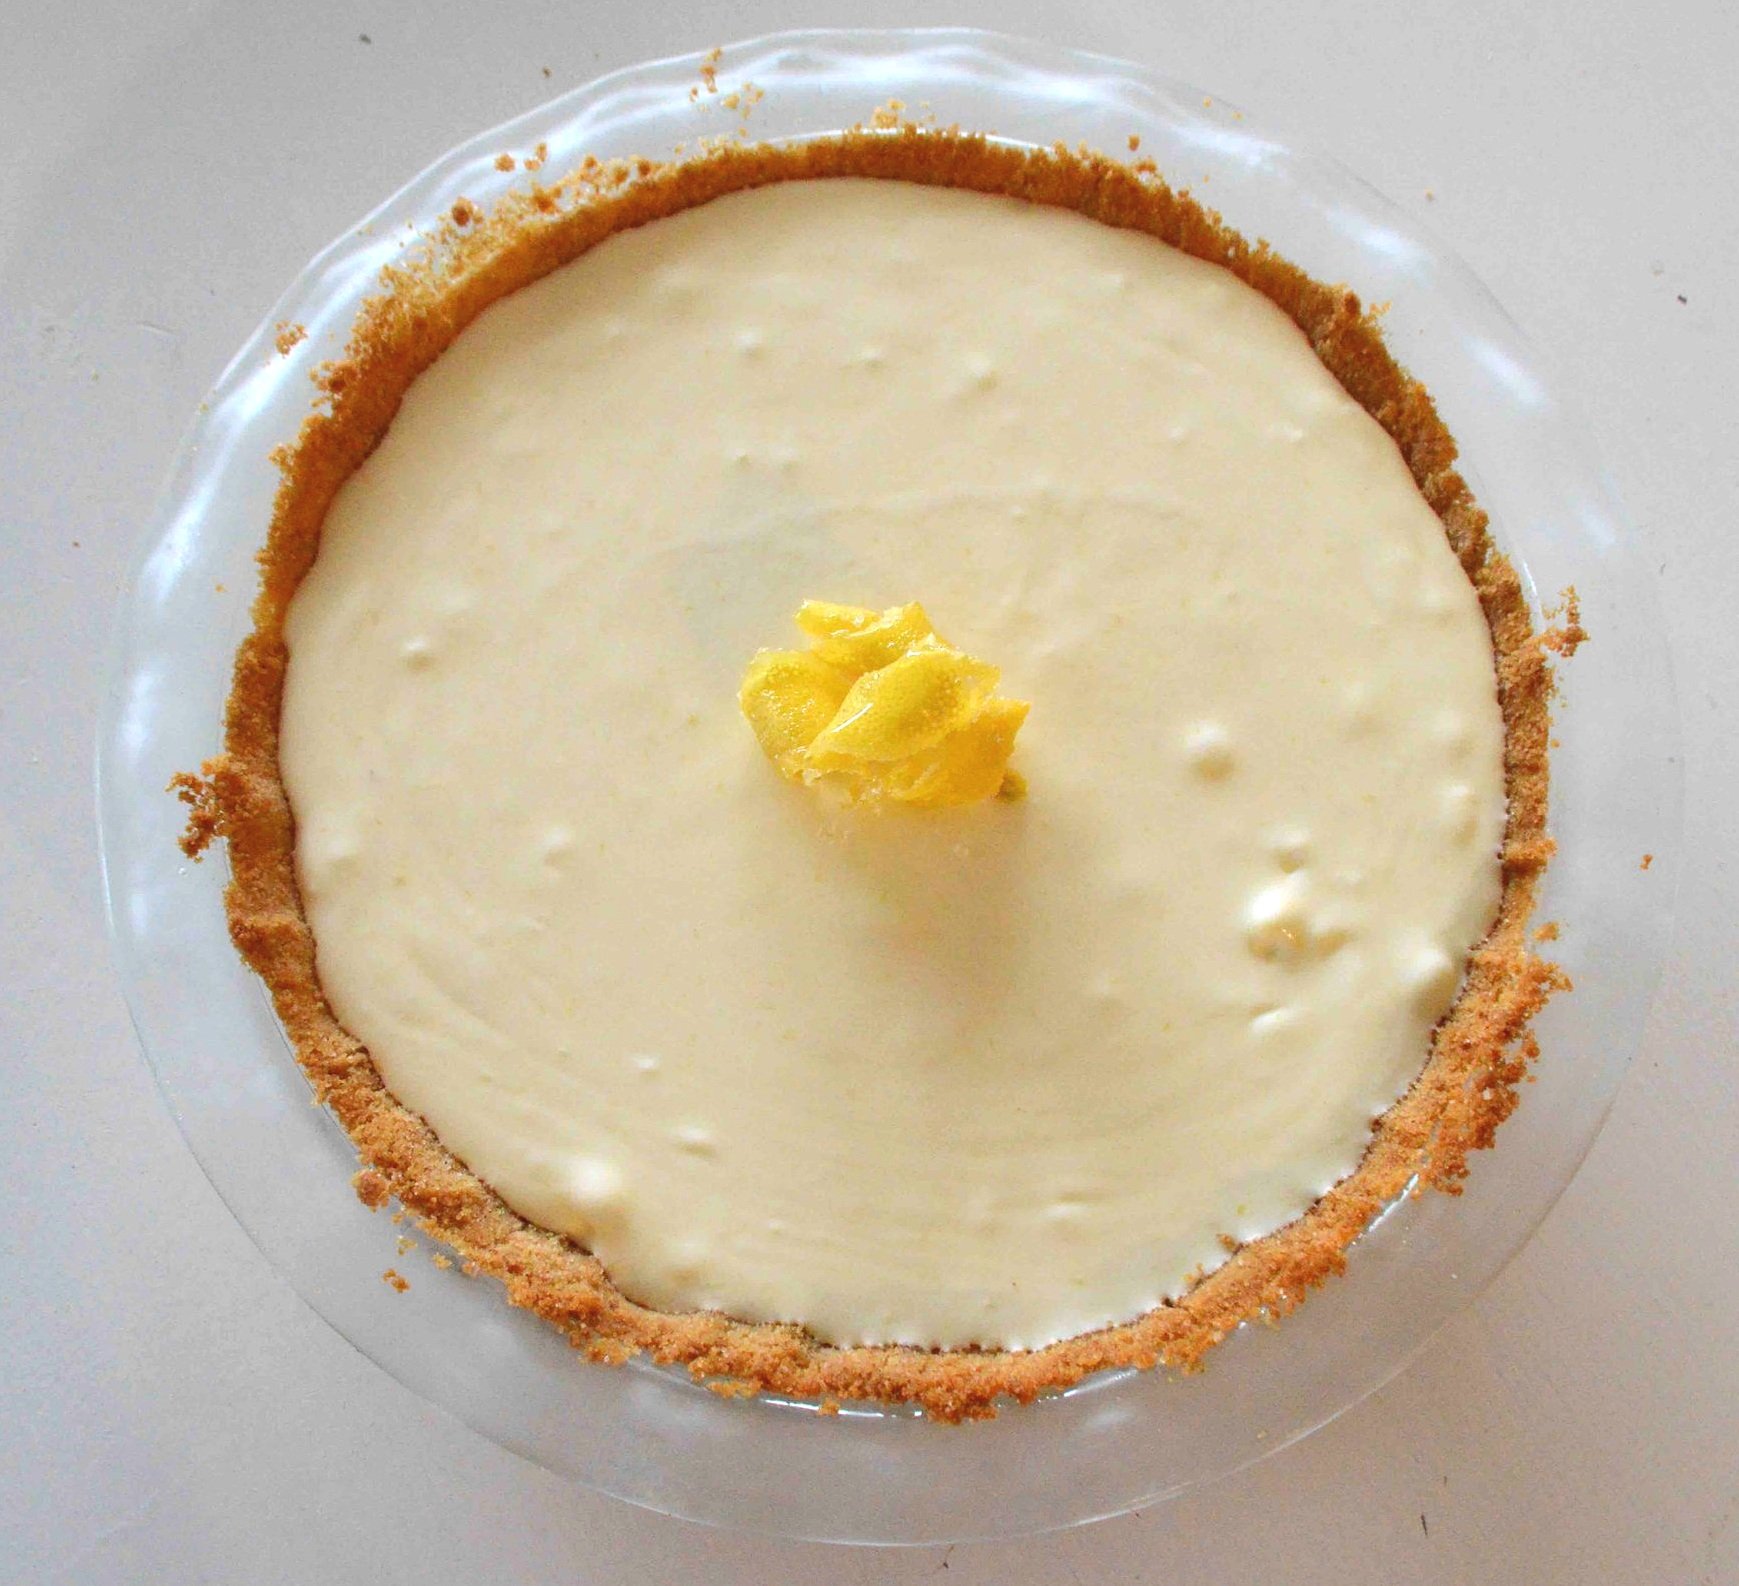
Day 2 of Pie Week and we’re doing a complete 180 from yesterday’s offering with this light and fluffy Lemon Chiffon Pie with ‘Nilla Wafer Crust. Calling all my lemon lovers!!
First off, let’s get one thing straight. This is not lemon meringue pie, a baked custard topped with loads and loads of stiffly beaten egg whites and sugar that gets lightly toasted under the broiler or with a kitchen torch. Nope, this is lemon chiffon pie, which has a non-baked whipped cream infused lemony sort of mousse filling instead. It’s so smooth and creamy!
And refreshing! Which makes it a great dessert to serve after a heavy meal, aka as Thanksgiving dinner.
You start by making an easy, almost no-bake ‘Nilla Wafer cookie crust, so there’s no rolling or crimping involved at all.
Next is the lemony filling which gets its texture both from gelatin and lots of billowy whipped cream. YUM!!
Then the whole thing gets scraped into that sweet cookie crust and chilled.
And meanwhile you can make the lemon peel garnish which is super easy and makes the pie so pretty and festive!
All you do is let some lemon peel strips sit in sugar for about 10 minutes
Then remove and twist around a spoon handle to form little curls.
And decorate the pie. So much fun!!
Every bite is so cool and soft and airy and lemony! I promise that everyone is going to fall head over heels in love with it!
Lemon Chiffon Pie with ‘Nilla Wafer Crust
Makes 8-10 servings
It is helpful to have a candy thermometer for this.
Prep time for crust: 15 minutes; Prep time for filling: About 45 minutes
Ingredients
For the crust
1 ¼ cups finely ground ‘Nilla wafers (about 30-35 ground up in food processor)
2 tablespoons sugar
5 tablespoons unsalted butter, melted
For the filling
2 cups ice cubes
1/4 cup water
1 envelope unflavored gelatin
¾ cup plus 2 tablespoons sugar, divided
¾ cup fresh lemon juice, strained
4 large egg yolks
Finely grated zest from 1 large or 2 small lemons
⅛ teaspoon fine sea salt
1 ¼ cups chilled heavy cream
¼ cup confectioners’ sugar
1 large lemon to remove strips from with a vegetable peeler to decorate pie with (optional)
The Recipe
1. To make the crust: Make sure oven rack is in middle position and preheat to 350ºF. In a medium bowl, combine the cookie crumbs and sugar and then add the melted butter, stirring until everything is well combined. Turn the mixture out into a 9-inch pie plate and evenly press the mixture across the bottom and sides. Bake the crust for about 8-10 minutes, until firm and dark golden. Transfer to a wire rack and let cool completely.
2. To make the filling: Into a bowl that is large enough to accommodate medium saucepan, add enough water to come halfway up the sides and the ice cubes to make an ice bath and set aside.
3. Into a small bowl, add the ¼ cup water and sprinkle the gelatin across it. Let stand for 15 minutes to allow the gelatin to soften.
4. Into a heavy medium saucepan, whisk together the ¾ cup sugar, lemon juice, lemon zest and salt. Place over medium heat and and whisk constantly for about 6 minutes until mixture begins to slightly thicken—don’t let it boil—it should coat the back of a spoon but not be thick like lemon curd. If you have a candy thermometer it should read 160ºF. Now whisk in the gelatin mixture until the gelatin completely dissolves, about 1 minute. Transfer the saucepan to the ice bath and whisk occasionally until the mixture is cool to the touch, about 8-10 minutes. Remove the saucepan from the ice bath.
5. Use an electric mixer to beat the heavy cream with the confectioners’ sugar until peaks form. Fold about ¼ of the whipped cream into the lemon mixture with a rubber spatula until incorporated. In 3 additions, fold in the remaining whipped cream. Scrape the mixture into the cooled crust, mounding it slightly in the center. Cover and chill pie in the fridge for at least 4 hours and up to one day.
6. If you want to make the lemon peel garnish, toss the lemon strips with the remaining 2 tablespoons sugar in a small bowl and let stand 10 minutes. Twist the strips to form curls and garnish the center of the pie with them.
Enjoy!
Note: Recipe adapted from Bon Appétit Magazine. I changed the crust to ‘Nilla wafers.


